> ## Documentation Index
> Fetch the complete documentation index at: https://docs.getjumper.io/llms.txt
> Use this file to discover all available pages before exploring further.
# Adding media
> How to load Avid clips into Jumper — transcoded MXF vs linked/AMA workflow
Avid media falls into two types. The workflow depends on which you have.
## Transcoded MXF in Avid MediaFiles
### If the MXF has already been analyzed
When Jumper has already analyzed the MXF files, MOB ID metadata is calculated during analysis. You can skip **Scan MXF Metadata** for those files and load them directly.
If multiple machines work on the same footage, set a shared directory in [Settings](/interface/settings-tab#shared-mxf-metadata) under **Shared MXF Metadata**. Use the same path on every machine, including the machine that ran analysis.
Select the clips you want to load.
Click **Load Media** -> **All Selected Clips** (or **All Visible Clips**, **All Bins**).
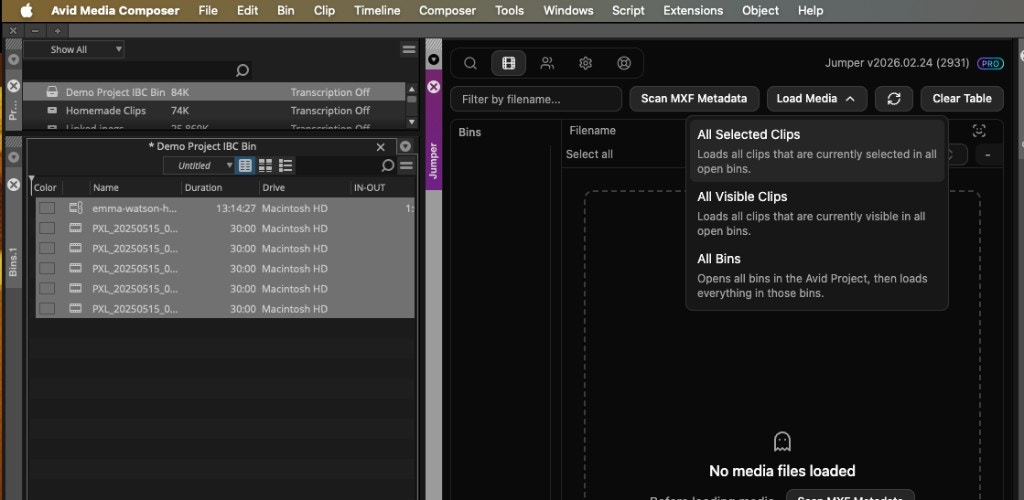 When an analyzed MXF is loaded, Jumper automatically sends the MOB ID to the Avid plugin. That links the bin clip to the managed media without a separate scan step.
### If the MXF has not been analyzed
You still need to scan before Jumper can link bin clips to the MXF files.
To share scan results across multiple machines, set a shared directory in [Settings](/interface/settings-tab#shared-mxf-metadata) under **Shared MXF Metadata**. Use the same path on every machine.
Click **Scan MXF Metadata** in the Media tab (next to the filename filter).
When an analyzed MXF is loaded, Jumper automatically sends the MOB ID to the Avid plugin. That links the bin clip to the managed media without a separate scan step.
### If the MXF has not been analyzed
You still need to scan before Jumper can link bin clips to the MXF files.
To share scan results across multiple machines, set a shared directory in [Settings](/interface/settings-tab#shared-mxf-metadata) under **Shared MXF Metadata**. Use the same path on every machine.
Click **Scan MXF Metadata** in the Media tab (next to the filename filter).
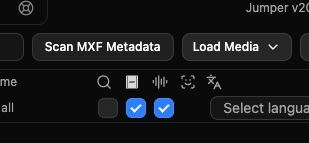 Select the clips you want to load.
Click **Load Media** -> **All Selected Clips** (or **All Visible Clips**, **All Bins**).
Without the scan, Jumper cannot link bin clips to unanalyzed MXF files. If you see "can't link to a clip" or media fails to load, run the scan first.
## Linked or AMA clips
No scan needed. Select clips in a bin, then **Load Media** -> **All Selected Clips** (or **All Visible Clips**, **All Bins**).
## Can't add media?
**Clips not selected** — For **All Selected Clips**, you must select clips in the bin before clicking Load Media. Click the clips you want in the open bin(s), then use the dropdown.
**Scan not run** — If you have transcoded MXF that has **not** been analyzed and media fails to load, run **Scan MXF Metadata** first (see [If the MXF has not been analyzed](#if-the-mxf-has-not-been-analyzed) above).
Select the clips you want to load.
Click **Load Media** -> **All Selected Clips** (or **All Visible Clips**, **All Bins**).
Without the scan, Jumper cannot link bin clips to unanalyzed MXF files. If you see "can't link to a clip" or media fails to load, run the scan first.
## Linked or AMA clips
No scan needed. Select clips in a bin, then **Load Media** -> **All Selected Clips** (or **All Visible Clips**, **All Bins**).
## Can't add media?
**Clips not selected** — For **All Selected Clips**, you must select clips in the bin before clicking Load Media. Click the clips you want in the open bin(s), then use the dropdown.
**Scan not run** — If you have transcoded MXF that has **not** been analyzed and media fails to load, run **Scan MXF Metadata** first (see [If the MXF has not been analyzed](#if-the-mxf-has-not-been-analyzed) above).