Overview
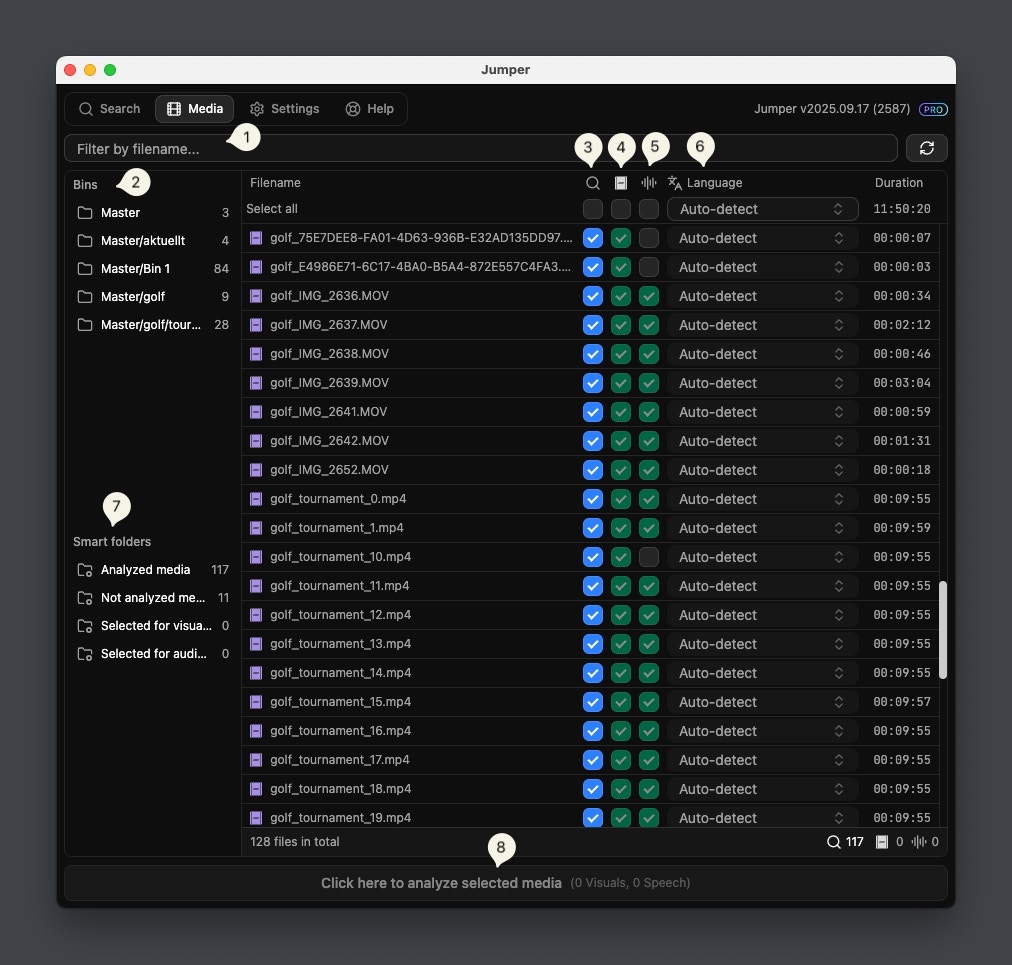
The Media tab is where you manage the analysis of your media files. You can mark files for analysis, monitor the analysis progress, and control which files are included in searches.
 The way you populate the Media table varies depending on whether you’re running Jumper in Standalone mode or as a Plugin. Use the table below to find the method that matches your workflow:
In the Standalone app you can clear the Media table by clicking the Clear button at the top right of the Media panel. Clearing the Media table will remove all the files from the table, but will not delete any files on your system or the analysis files from the analysis folder.
The way you populate the Media table varies depending on whether you’re running Jumper in Standalone mode or as a Plugin. Use the table below to find the method that matches your workflow:
In the Standalone app you can clear the Media table by clicking the Clear button at the top right of the Media panel. Clearing the Media table will remove all the files from the table, but will not delete any files on your system or the analysis files from the analysis folder.
Analysis progress
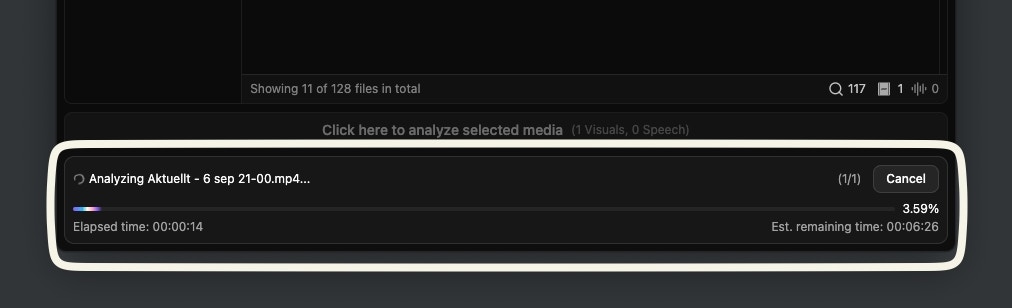
When analyzing media, an analysis progress indicator is shown at the bottom of the window. It shows the current file being analyzed, that file’s progress, elapsed time, and estimated time remaining.
By clicking the Cancel button in the top right corner, you will abort the analysis of this and any other media queued for analysis.
Right-click options
By right-clicking a media file, you can:
- Reveal in Finder (macOS) or Reveal in File Explorer (Windows) — Open the file’s location on the filesystem
- Show analysis files — Access the analysis files for that file. If you delete the analysis files, you will need to re-analyze the file
- Open Script Editor (for files analyzed for speech) — Open the full transcript in the Script Editor
 If you click
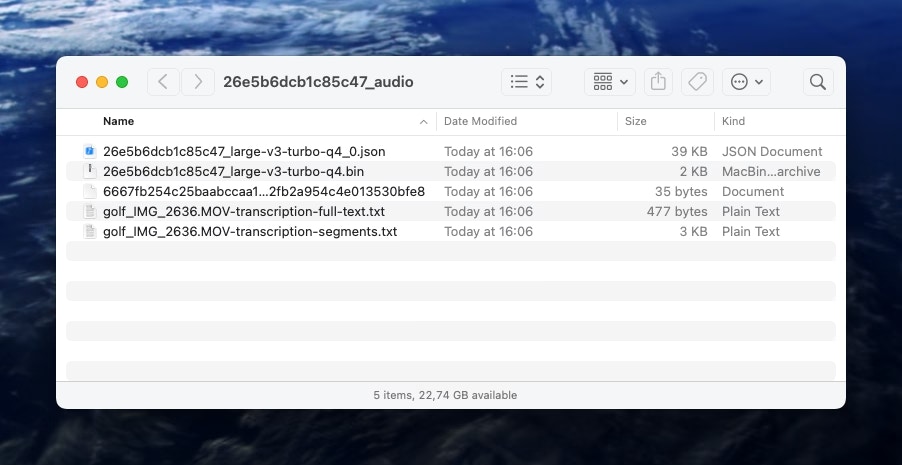
 Reveal Speech Analysis... you will find two plain text files with the actual transcriptions.
transcription-full-text.txt contains the entire transcripttranscription-segments.txt contains the entire transcript but segmented with time codes
Last modified on June 22, 2026