

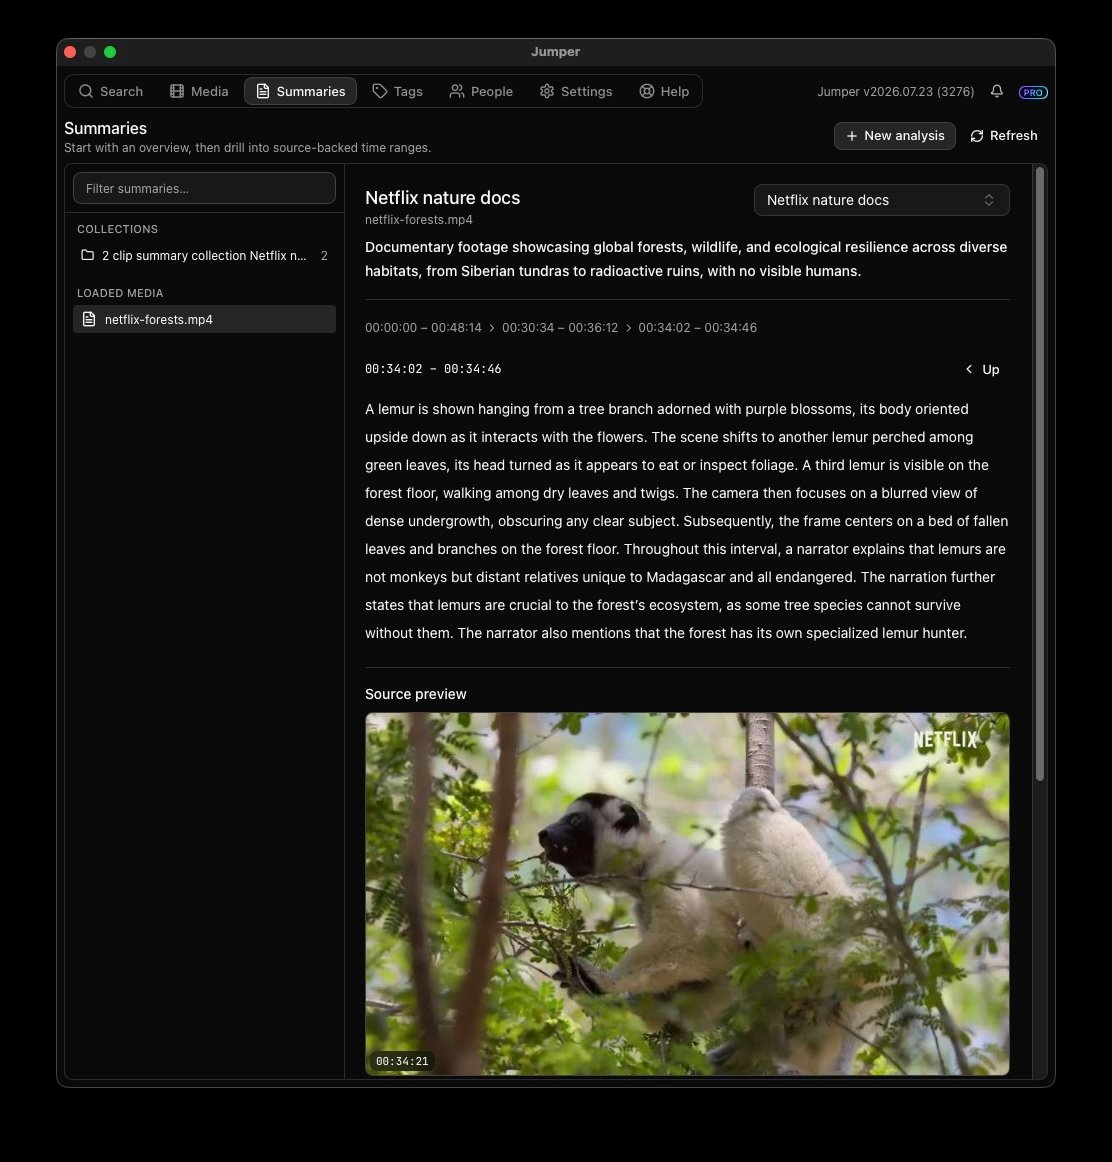
A Summary Analysis opened to a detailed section with its source time range and preview
Why use Summary Analysis
Visual, speech, and people searches are most effective when you already know where to look. A Summary Analysis gives an editor or agent that initial map of the footage. For example, an agent can read the overview of a long interview, open only the sections about a promising topic, and then limit its transcript search to those source ranges. On a documentary archive, it can compare overviews across many files before spending time on detailed searches.A summary is navigation and reasoning context, not final source evidence. Verify exact quotations in the underlying transcript, identities with frames or People analysis, and edit points against the source media before using them in an edit or factual claim.
Purpose, goals, and priorities
Purpose and goal work together, but they do different jobs. A built-in purpose adds a familiar editorial lens (documentary research, trailer creation, archive discovery, and similar). A Specific goal makes that lens particular to this footage and deliverable. Use only my instructions skips the built-in lens and relies on your goal and Pay extra attention to priorities alone. For the exact settings and steps, see Create a Summary.Reuse the same footage for different questions
The first Summary Analysis of a file takes longer because Jumper creates the initial factual observations it needs to describe the media. Later analyses of the same file can reuse those observations and concentrate on a different editing goal. You can create multiple Summary Analyses for one file. A documentary team might create one analysis for story research and another for trailer moments. Give each analysis a meaningful name so collaborators and AI agents can identify the right one without opening every result. Summary collections organize related analyses across multiple files—for example, all interviews from one production day or all reels from one archive box. Collections keep every source file distinguishable, allowing you and an agent to compare related material without losing track of where each observation came from.Practical uses
Documentary development
Understand interviews, observational scenes, characters, relationships, and themes before deciding on a story structure.
Trailers and promos
Surface promising hooks, confrontations, reversals, striking images, and memorable reactions for closer review.
Interviews and podcasts
Locate topic changes, strong statements, personal stories, and sections that may become selects.
Archive research
Survey large collections, compare files, and focus detailed searches on the most relevant source ranges.
Events and sports
Find key moments, crowd energy, turning points, reactions, and sequences worth considering for a highlight reel.
Characters and continuity
Follow characters, relationships, themes, locations, props, or continuity details across related footage.
How AI agents use summaries
When Summary Analysis is available, an AI agent such as Claude or ChatGPT can use it quietly in the background to orient its work. It inventories available collections, reads concise whole-clip overviews first, and drills only into branches that look promising. Later visual, transcript, or people searches can then be limited to those source time ranges. This progressive approach gives the agent useful context without treating every summary sentence as proof. It still verifies selected material against the transcript, frames, People analysis, or source media before creating an edit or making a factual claim.Create a Summary
Run Summary Analysis on a file or batch and explore the result.
Analyzing media
Prepare footage for visual, speech, face, and summary workflows.
Agentic video editing
Learn how Claude, ChatGPT, and other AI agents work with Jumper.
AI video analysis
Compare Jumper’s visual, speech, face, and summary layers.