

The file must be analyzed for speech. See Speech search and the Media tab.
1. Open a transcript
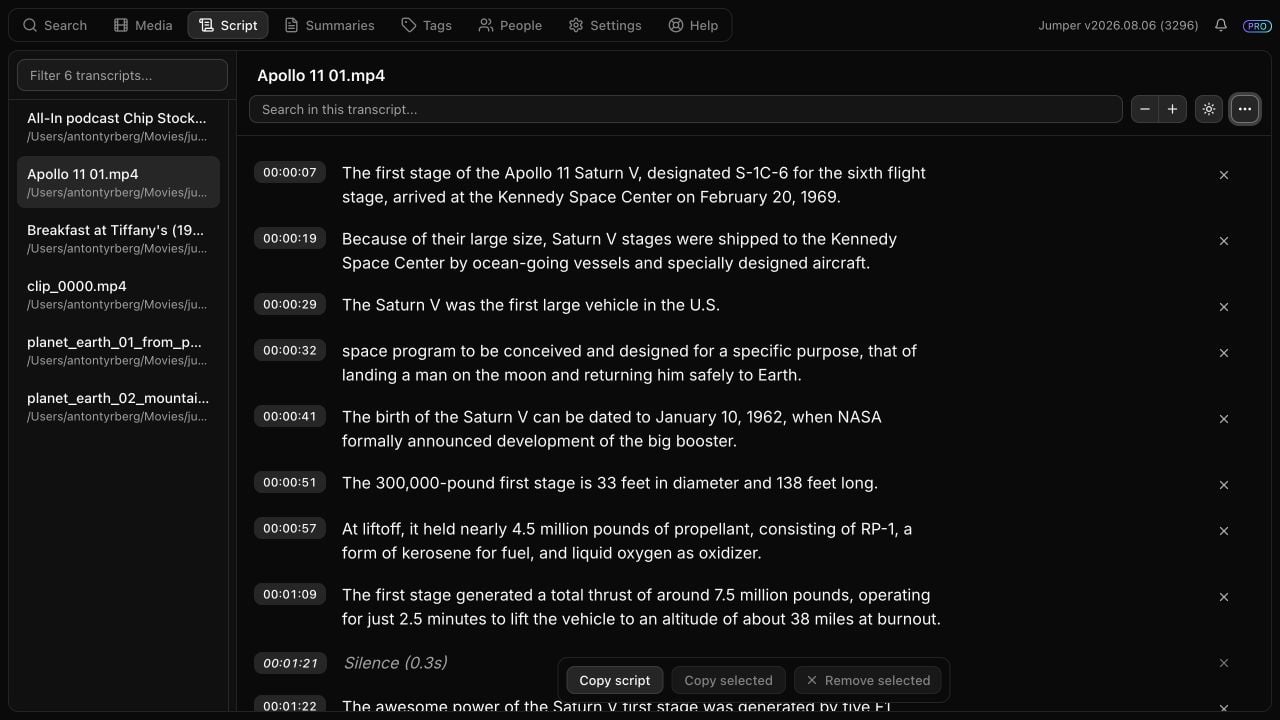
Select Script in Jumper’s top navigation, then choose an analyzed transcript from the left sidebar. On smaller windows, select the current file name above the transcript instead. You can also open the right transcript directly from your current task:- In the Media tab, right-click a speech-analyzed file and choose View transcript.
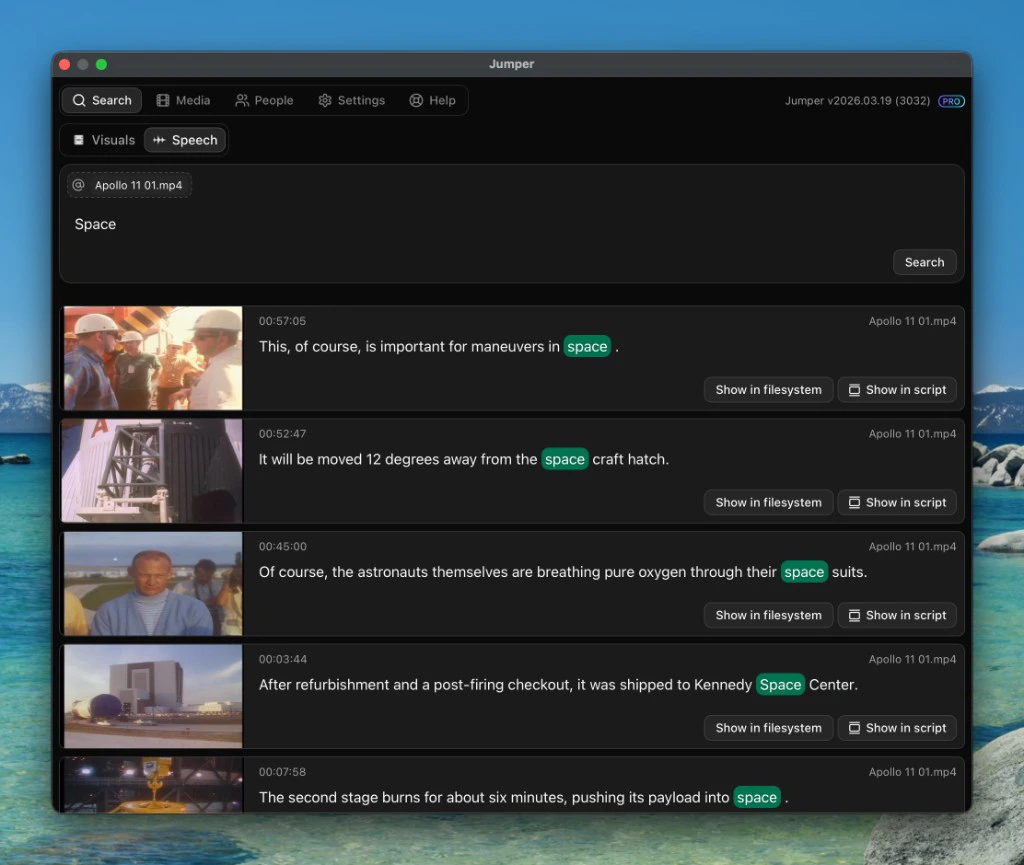
- On a speech search result, click Show in script to open its transcript at the matching line.
2. Find the material you want to edit
Type a word or phrase in Search in this transcript. Use Enter or the down arrow to move forward through matches; use Shift + Enter or the up arrow to move backward. Removed lines are excluded from these results, so the count always reflects the current paper edit.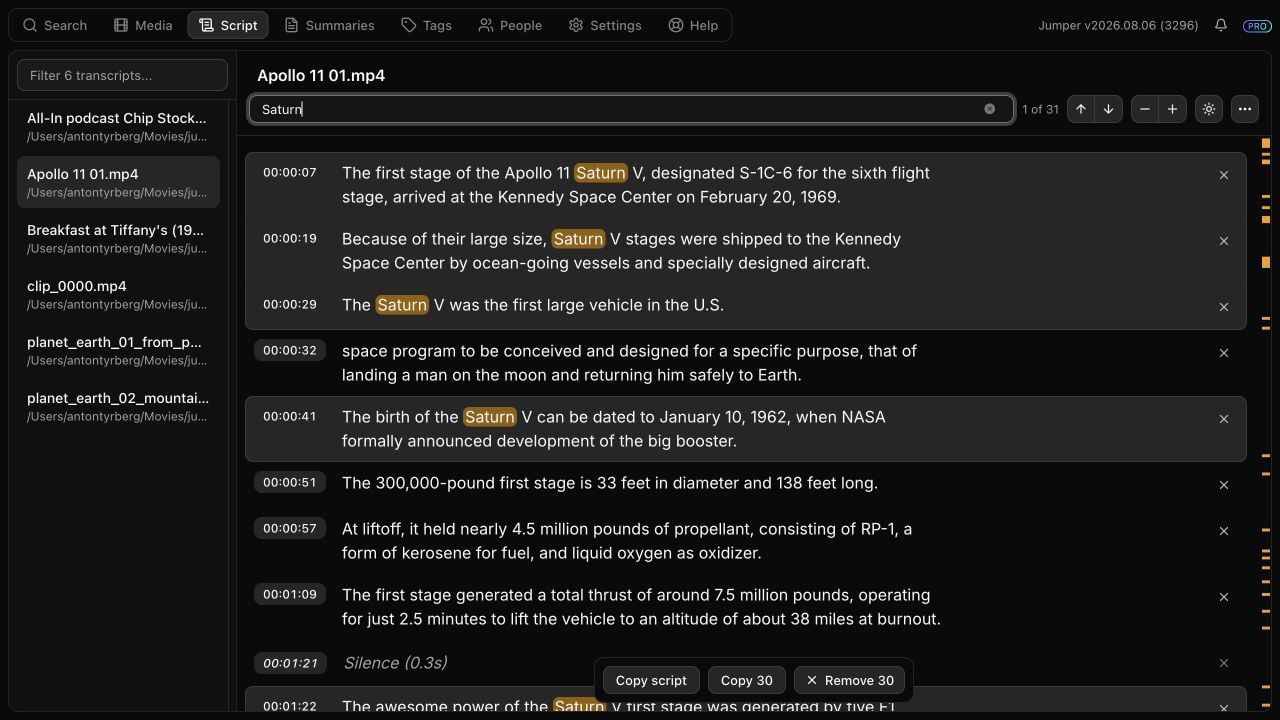
3. Remove unwanted lines
- Click a line to select it. Shift-click another line to extend the selection.
- Remove the selection with Remove selected, the x beside a line, or Backspace/Delete.
- Continue until the visible transcript contains the material you want to keep.
Jumper saves removals automatically as a personal local edit. They do not modify the original transcription, shared speech analysis, or media file. See Local edits and persistence for the complete behavior.
4. Review or restore removed material
One or more adjacent removed lines collapse into a red triangle row:- Click anywhere across the row to expand or collapse the removed group.
- In an expanded group, click the restore arrow beside a line to return only that line to the script.
- To restore everything, open Ellipsis (), choose Reset local edits…, and confirm.
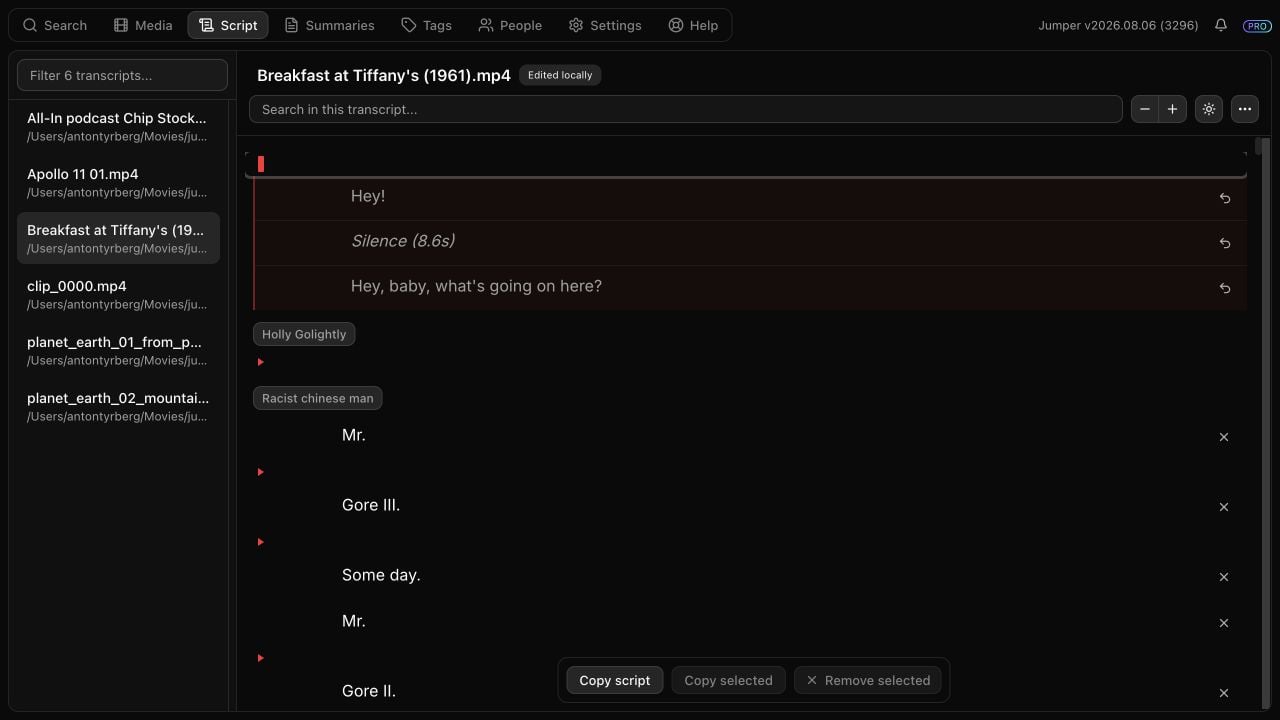
An expanded removed-lines group preserving the normal transcript layout
5. Use the finished paper edit
Choose the output that matches your workflow:- NLE integration: choose Add all to timeline to send every remaining line, or select specific lines and choose Add selected to timeline.
- Jumper Standalone: choose Copy script to copy every remaining line, or select lines and choose Copy selected.
- File export: open Ellipsis (), then choose the required format under Export.
Your paper edit remains saved when you switch transcripts, leave the Script tab, or restart Jumper.